How to make your own rosin
Producing concentrates can sometimes be a time and equipment intensive process depending on the method of extraction and the yield that you’re looking to get from your flower. However, diligent pot connoisseurs have created a few DIY methods that one can do themselves! While it won’t necessarily produce rosin of the same quality and consistency as the kind you can buy in store or the kind that you can get from a rosin pressing machine, it’s a good method to try if you have some time on your hands and the desire to make some of your own concentrate.
Step 1: Pick your flower
Advice that we’ve heard time and time again from people who press rosin personally and professionally is ‘Quality in, quality out’. Put simply, the quality of the rosin you’ll get is directly correlated to the quality of the flower you’re pressing.
Step 2: Get your gear
Now that you’ve got your favorite bud picked out, it’s time to grab what you’ll need to press it and produce the rosin you’re looking for. For this, we’ll need a few things:
- A hair straightener
- Parchment paper
- A rosin bag, which can be purchased online (though this is entirely optional)
- A metal tool for collecting the rosin from the paper (Again, can be purchase online, but any thin long metal object with a flat end will suffice)
- A jar or container of some kind for your collected rosin
- A pair of heat resistant gloves
Step 3: Prepare your flower
Now that you’ve got everything you need, it’s time to get your flower ready to be pressed. If you have a rosin bag, break your flower up into chunks and press it tightly together into the mesh bag without puncturing the bag itself. You can even use a chopstick or other similar tool to make sure you get it tightly packed in, leaving about a third of the bag empty to fold around to prevent the flower from falling out. If you’re pressing the flower directly on the paper, press the buds by hand so that they are flattened. Take your prepared flower and place it in the center between two pieces of parchment paper or one large piece folded over, depending on the amount of flower you’re using. You can then fold the edges of the paper in order to prevent rosin from spilling out as it oozes forth.
Step 4: Set your temperature
You’re going to want to start with a low temperature on the hair straightener, as higher temperatures have a greater chance of not only burning the flower, but also of producing lower grade rosin if left too long.
Step 4: Get pressing!
Start pressing the flower that is in between the parchment paper with the pre heated hair straightener. You’ll want to apply even pressure while keeping the hair straightener as flat as possible. You should only have to press it for about 15 to 20 seconds before you’ve started to produce the rosin. Set aside the straightener and open the parchment paper and you should see the rosin has secreted from the flower! You can do repeated pressings to try to produce more rosin, but the first yield will generally be the best.
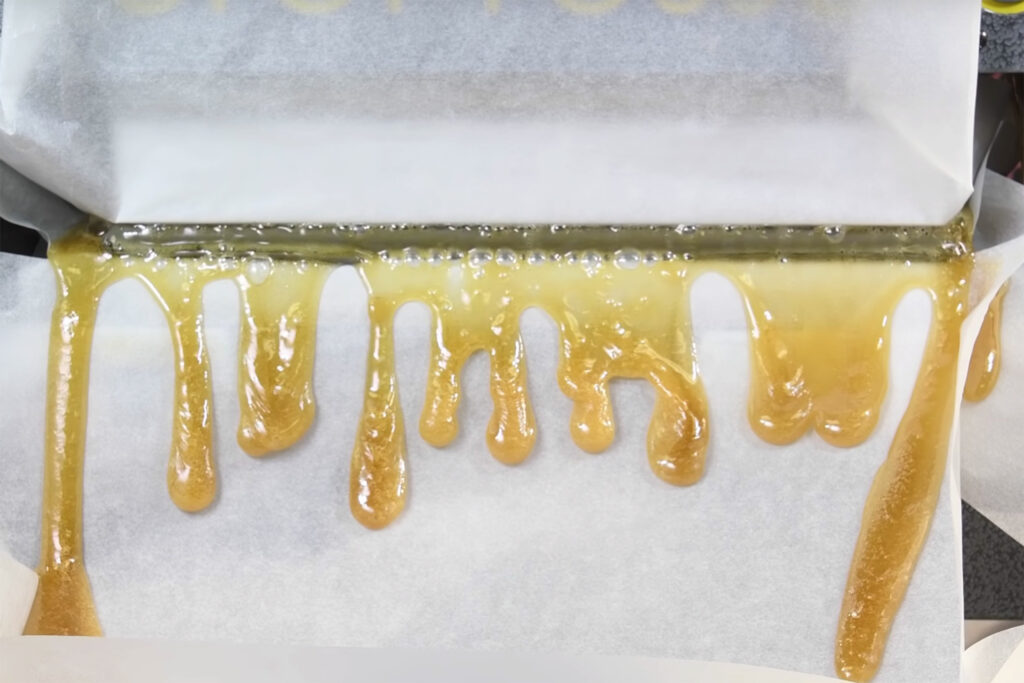
Step 5: Collection
Now that your parchment paper is covered with ooey gooey goodness, it’s time to use your dab tool or other metal object like a small flat head screwdriver and start to collect the rosin from the paper by gently but firmly using the tool to pull the rosin free. Then, simply store it in a safe container or jar for later use!
And that’s it! By following these instructions, you now know the very basics of pressing your own rosin. There are a lot of different techniques and schools of thought when it comes to producing the best rosin, so use this as a launching point to learn more!
Want us to do the heavy lifting? Come check out our in store rosin press!